Tuesday, March 25, 2014

Baby Shower | Congrats Charlin & George!

My dear friends Charlin and George are expecting a baby girl soon, and I had the honor of catering desserts for their baby shower this past weekend! I'm thankful for the faith that my friends have in me, and also really appreciated the opportunity to practice and experiment :)
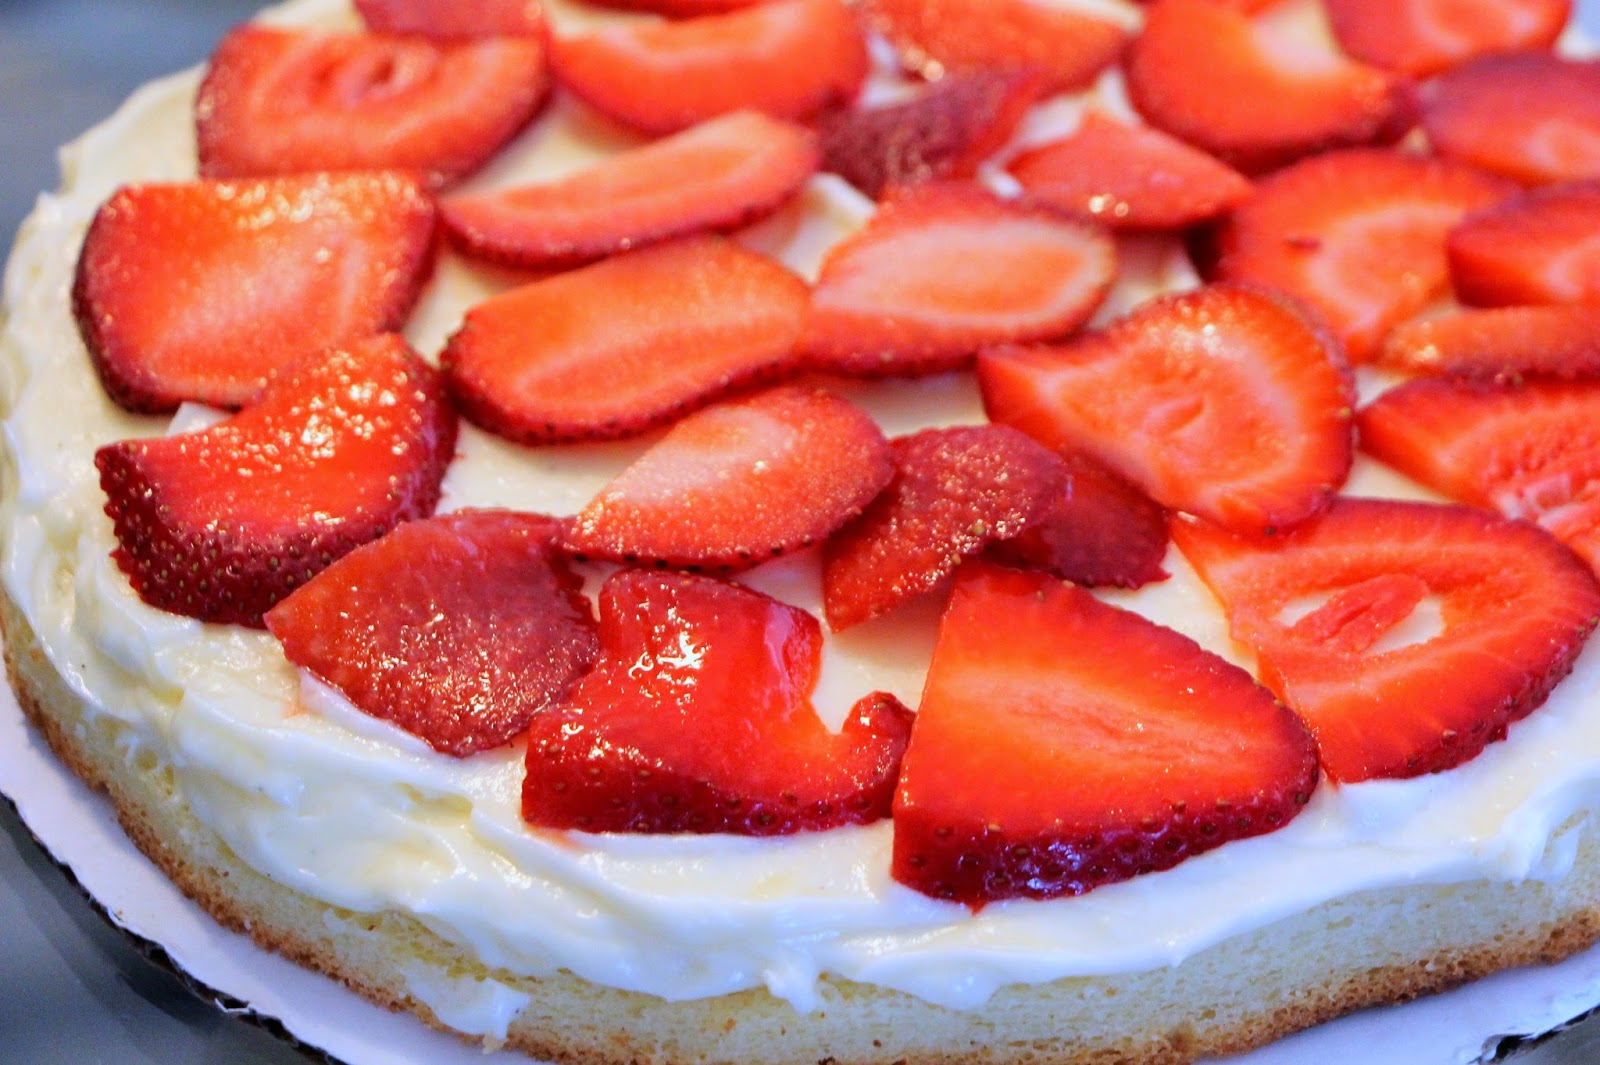
For this celebration, I made a two-tiered custard and strawberry cake, chocolate cupcakes, and some puff pastry treats. The cake had layers of lemon chiffon cake, crème légère (pastry cream lightened with whipped cream), and fresh slices of strawberry, with a buttercream frosting.
I then decorated with handmade gumpaste roses and leaves. I originally planned on adding whole, fresh strawberries as well, but I was a little worried about everything staying intact and in place during the drive to the baby shower.
The mini cupcakes were chocolate with a chocolate ganache center. For half the cupcakes, I used a cream cheese frosting and decorated with fondant yellow duckies and bubbles.
For the other half, I used a chocolate ganache frosting and decorated with fondant teddy bears. These were labor-intensive pieces, but it was a satisfying accomplishment for me, as I don't usually tend to make "cutesie" decorations.
Finally, I made some puff pastry dough and created cinnamon sugar twists and quick vols-au-vent filled with lemon pastry cream and strawberry slices. While the cake and cupcakes got the attention, these puff pastry treats were my favorite to eat!

Friday, February 14, 2014

Pastry School Recap | Unit 7 - Petits Fours (Happy Valentine's Day!)

Happy Valentine's Day! To celebrate, I made some white chocolate and raspberry macarons. The white shells were a little more successful than the pink ones, which I over-deflated a bit, but both should be yummy to share with friends on a trip to Carmel this weekend.
To be honest, the hype and reverence around French macarons make me a little less excited about making them. That is probably why this is the first time I've made them at home (outside of class). However, I do think they are delicious treats, and no doubt big money-makers for bakeries (I almost always grab one when I'm at a Bouchon Bakery)!

Conceptually, petits fours are the most interesting to me. I love the idea of shrinking down desserts, and although it may be too labor-intensive, I could imagine having a bakery specializing in innovative petits fours. The French translation of petits fours is "small ovens" and the term refers to bite-sized desserts. The two dessert types are glacé (glazed, such as the ones you see in Swiss Colony catalogs), and sec (dry, such as macarons, meringues and biscuits). I believe there is also the savory type, salé (salted), for appetizers.

Some examples of petits fours from Unit 7:
Hazelnut Financiers:
 Pâtes de fruits: raspberry and passion fruit jellies
Sablés: swirl cookies
 Unit Exam: fruit jellies, Russian tea cakes, passion fruit barquettes, lemon-raspberry sandwich cookies, raspberry macarons, cat's tongues, nougat, madeleines

Thursday, February 13, 2014

Pastry School Recap | Unit 4 & 6 - Viennoiserie & Bread

Croissants!

Croissants were probably the highlight for most of us in class from our viennoiserie unit. And while there were some interesting items from the bread unit, croissants are so awesome that they were my highlight from the bread unit too.

Viennoiserie, or "things of Vienna", are baked goods made from yeast-leavened dough that is generally enriched (i.e. has milk, butter and/or eggs added). Some key examples use laminated doughs such as croissants and danishes. Also included in this category are pain au chocolat, brioche, and viennois.

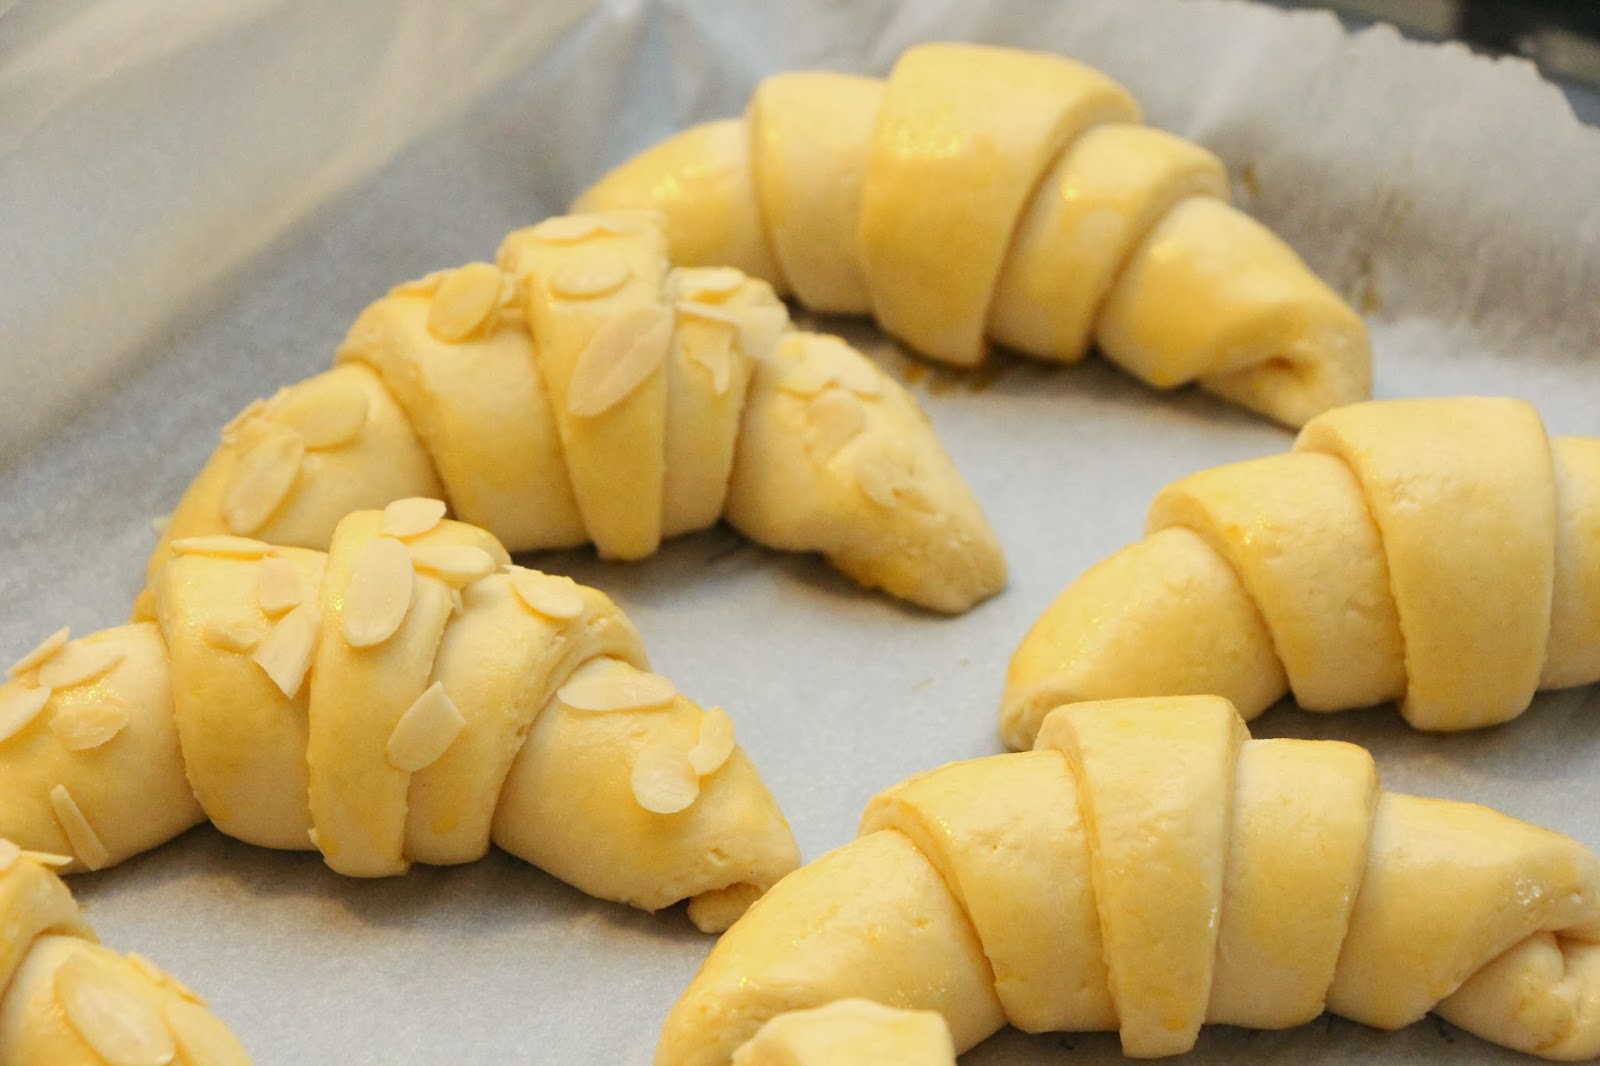
Given my love of croissants, I made some variations on them as part of my revisit to this unit. Here, I have plain croissants, almond croissants (almond cream filling and sliced almonds on top), green tea croissants (almond cream flavored with matcha green tea powder) and purple yam croissants (almond cream flavored with purple yam and black soy powder). The green tea flavor is a bit too muted, but the color was pretty and I think more matcha powder could address this. The purple yam flavor reminded me of the pastries from Asian bakeries.
This was my first attempt at making croissants (or anything yeast-leavened) at home, and I'm relieved I was able to proof and raise the dough (using Instant Yeast) without melting out too much of the laminated butter.
Some tips: to first proof the détrempe dough, microwave a cup of water for about a minute and then use the residual heat and moisture in the microwave; for final proofing of the formed croissants, heat the oven to the lowest temperature setting with a bowl of water inside before shutting off and cooling to proofing range.

Some examples of viennoiserie and breads from Unit 4/6:
Spiced Pecan Sticky Bun: ooey gooey goodness
 Viennois: shaped like a baguette
Scones: 
 Beehive: brioche, pastry cream, meringue, honey syrup, marzipan bees (who eats this??)
 Danishes: almond cream, raspberry jelly, cream cheese
Focaccia: 
 Harvest Grain Bread: 
 Bagels: 
Pullman Loaf (Pain de mie): aka white bread
Unit Exam: cornbread, brioche, pain au chocolat, croissants

Monday, February 10, 2014

Pastry School Recap | Unit 3 - Puff Pastry

I love puff pastry. Maybe because, like pâte à choux, mechanical leavening is involved. In class, we made paillettes, or twisted straws, flavored either with cinnamon sugar, or cheese and spices. However, I was never quite satisfied with the version we made in class, for reasons I'll explain below. Fortunately, last Christmas when I went home to Orange County, I came across a new bakery in Brea, CA called Merely Sweets. To my pleasant surprise, I discovered on their website that the owner is a graduate of the New York campus of my school (f/k/a French Culinary Institute)! No wonder I seemed to recognize most of the desserts in the shop, including cinnamon twists that looked much better than what we made in class.

I was inspired to experiment with new methods to achieve the fatter and more robust twists that Merely Sweets had. I think the result, as seen in the photo above, was much more successful than the ones from class (see photo below).
Instead of twisting a single strip of puff pastry dough upon itself as done in class, which I think overworks the dough and results in a harder, denser stick, I cut a longer strip, put the flavoring on one side, folded the strip on itself, and then twist the folded strip. Then, I sprinkled the outer surface with turbinado/raw sugar for extra flavor and crunch. (You can do the same thing with cheese and spices too.) The problem with twisting a single strip upon itself is that on one hand, you want to twist it tightly enough to hold its twisted shape while baking (instead of unraveling), and on the other hand, you want it twisted just loose enough to give the stick some room to puff up. It just doesn't quite work out and the exposed flavoring also tends to burn.

On the whole, puff pastry might have been my favorite unit of pastry school. Learning the technical side of puff pastry demystified the pastry and made so many diverse desserts accessible to me. It takes some amount of work to prepare the dough, and a whole lot of waiting time in between turns of the dough (rolling and folding the dough), not to mention the long waiting time for the dough to chill. But once the dough is made, it's like a versatile, magic play-dough.

Some examples from Unit 3:
Napoleon Strip: my favorite dessert
Gâteau Pithivier: puff pastry filled with frangipane (a pastry cream / almond cream mixture)
Vols-au-vent: classic hors d'oeuvre vessel for sweet and savory fillings
Fruit Strip (bar tart): fresh pineapples and ground pistachios
Caged Poached Pears:
Apricot Galette:
Chocolate Palmiers: displayed only for demonstrative purposes; I otherwise never recommend making or eating chocolate puff pastry (not tasty)
Apple Dartois: apple compote in a lattice
Unit Exam: round napoleon, vols-au-vent, apple galettes

Tuesday, February 4, 2014

Ginger Mochi Cannelés - Happy Chinese New Year!


These little cannelés are chewy little bites of gluten-free cake, dipped in a ginger simply syrup and topped with sea salt and candied ginger. I first read about these on the Hungry Rabbit blog and meant to make them for a potluck a year ago. However, I was busy with work and pastry school and I never got around to making them (or attending that potluck). This year, I finally made them to ring in the year of the horse, but again I was unable to make it to the Chinese New Year gathering where I intended to share these with friends.

So, I guess I will eat most of them myself :)

These are a play on the traditional nian gao (rice cake) eaten to celebrate the holiday. If you're expecting an actual nian gao, this is not it. It won't be glutinous. However, it is definitely chewier than any typical cake, and because it's made with rice flour and mochiko, it's gluten-free. I'm not a huge ginger fan, but these smelled and tasted delicious out of the oven, and I feel like the flavor balance has even improved over the last couple days.

The original recipe from Hungry Rabbit lists "vanilla extract" twice. I'm not sure if that's a mistake, but I don't think it makes a huge difference. You can use vanilla extract twice, or try almond or ginger extract in addition to vanilla extract.
Ginger "Nian Gao" – Ginger Mochi Cannelés

Ingredients
Makes 64 cannelés (using 1-oz mold)
  • 10¼ ounces (2/3 box) Mochiko flour
  • 1 cup rice flour
  • 1 teaspoon ground ginger
  • 1/8 teaspoon ground cinnamon
  • 16 tablespoons (8 ounces/2 sticks) salted butter, softened
  • 1 cup granulated sugar
  • 1 can (14 oz) sweetened condensed milk
  • 1 can (12 oz) evaporated milk
  • 3 tablespoon ginger, freshly grated
  • 1 teaspoon pure vanilla extract
  • 1 teaspoon pure vanilla extract
  • Ginger syrup (see recipe below)
  • ⅓ cup crystalized candied ginger, finely chopped
  • Sea salt, for sprinkling
Directions
  1. Adjust oven rack to lower-middle position and heat oven to 350℉. Spray two 1-oz silicon cannelé molds with cooking spray and place them side-by-side on a baking sheet. Set aside.
  2. Whisk together mochiko flour, rice flour, ground ginger and cinnamon, set aside.
  3. In a blender, add butter, sugar, condensed milk, evaporated milk, grated ginger and extracts. Blend on high speed until smooth and fully combined. (A stand mixer works too. The mixture will have little lumps, especially from the grated ginger, but the batter comes together just fine with the flour is added.)
  4. Pour milk mixture into a large bowl and whisk in flour mixture until fully combined with no lumps. 
  5. Fill each mold just below the top and gently tap the baking pan on the countertop a few times to release any air bubbles in the batter. Cover remaining batter until ready to use.
  6. Place baking sheet in oven and bake until golden brown, about 40 minutes. Make ginger syrup while cannelés are in the oven.
  7. When cannelés are done, remove from oven and release them from the mold immediately. Dip each cannelé in ginger syrup until fully coated, about 10 seconds; place them right-side-up on wire rack to cool.
  8. Repeat with remaining batter.
  9. Sprinkle with sea salt and top with chopped candied ginger.
Ginger Syrup

Ingredients
  • 1 cup water
  • 1 cup granulated sugar
  • 8 slices of ginger, freshly sliced
  • 2 tablespoons Canton, ginger liquor (optional)
Directions
  1. In a small sauce saucepan, combine water, sugar and ginger; heat over medium heat until sugar is dissolved and mixture comes to a simmer. 
  2. Remove from heat, add Canton, stir to combine and set aside until ready to use.

Thursday, January 16, 2014

Pastry School Recap | Unit 2 - Pâte à Choux

Pâte à choux, a.k.a. cabbage dough. The layperson usually does not recognize this term, so I also describe it as cream puff dough.

I love this stuff. And not just because it demonstrates the magic of mechanical leavening. Okay, maybe precisely for that reason. The dough is made of water, butter, bread flour, a bit of sugar and salt, and eggs. What distinguishes this dough from others is the fact that it is cooked twice: all ingredients except the eggs are first cooked over the stovetop, and then the eggs are beaten in one at a time to reach the right consistency and moisture. Bread flour has a higher protein content, allowing for greater moisture absorption (thus usually more eggs and flavor), and an elasticity from the gluten formation. During baking, the water content transforms into steam (which is up to 1600x in volume under STP conditions! nerd alert!), which puffs up the dough and creates a hollow inside that can be filled with whipped cream, pastry cream, ice cream or other fillings. Round mounds of dough when baked (i.e. cream puffs) have tops that look vaguely like cabbages, hence the French name.

This dough is so versatile and can make cream puffs, profiteroles, eclairs, gougeres, popovers, and even gnocchi! 
Yes, Parisian gnocchi (gnocchis à la parisienne), which are made by poaching the dough. I was inspired to try this after the evening culinary class prepared it for dinner one night. I overboiled some batches which made some pieces mushy, but on the whole it still turned out quite delicious with peas, cherry tomatoes, shaved parmesan cheese, and some simple olive oil, salt and pepper.

Some examples from Unit 2:
Profiteroles:
 Swans:
Unit Exam (Eclairs and Paris Brest):